What is a Pergola?
A pergola is a perfect addition to any outdoor space, providing shade and a stylish area for relaxation. Whether attached to your home or free-standing, a pergola enhances the beauty of your garden, terrace, or even a parking lot. By using screw piles for the foundation, you ensure a stable and durable structure.
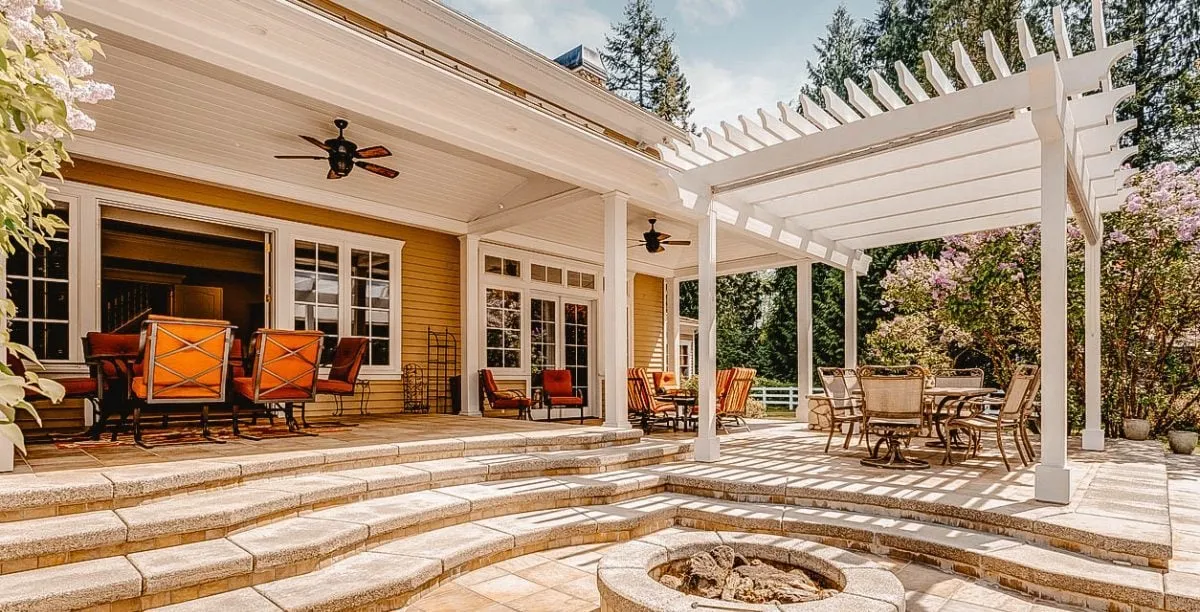
A pergola offers a shaded space ideal for seating and decoration. There are various types:
- Back-to-back pergolas: Attached to an exterior wall, often a house.
- Free-standing pergolas: Supported by four pillars, can be placed anywhere for a solid foundation.
Positioning your pergola in the garden allows you to enjoy your surroundings, while placing it in a corner offers more privacy.
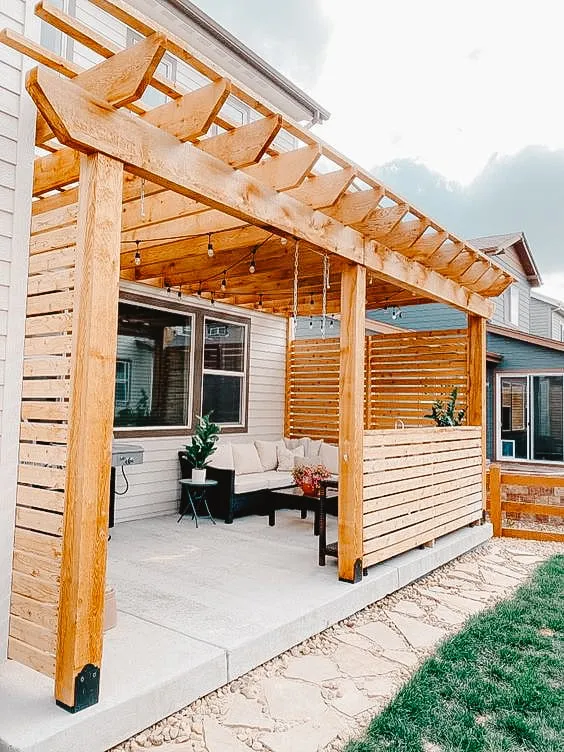
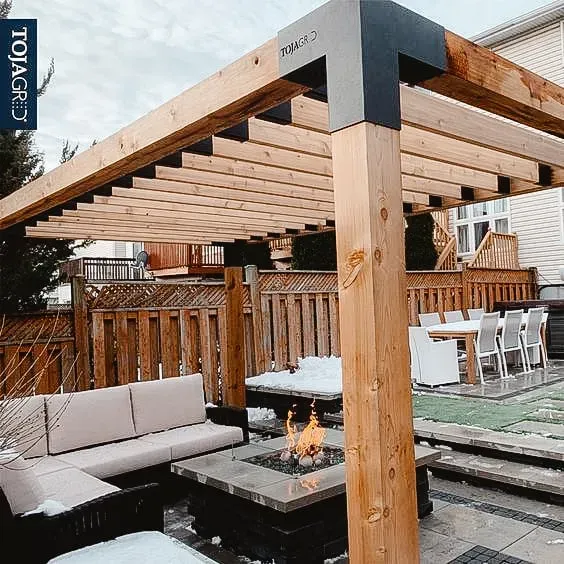
Step 1: Preparation
- Canopy pergola: A shelter with a roof, leaning against a wall.
- Arbor: A freestanding, movable pergola.
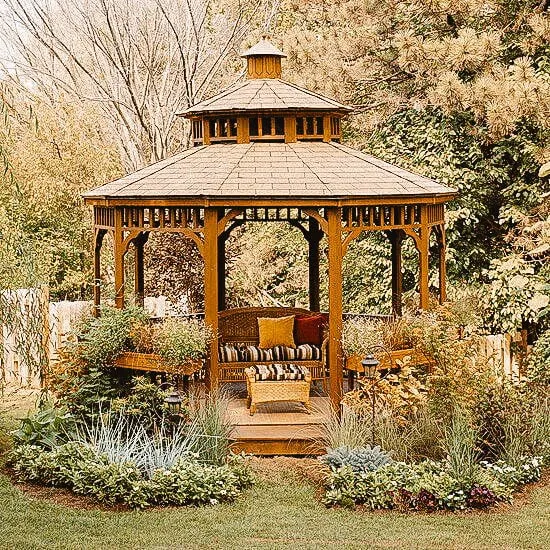
- Gazebo: Resembling a small house, often hexagonal or square, perfect for garden furniture.
Choose your materials carefully (wood, iron, or PVC) and measure accurately. Use stakes and rope to visualize the project, ensuring the uprights are no more than 150 cm apart for stability.
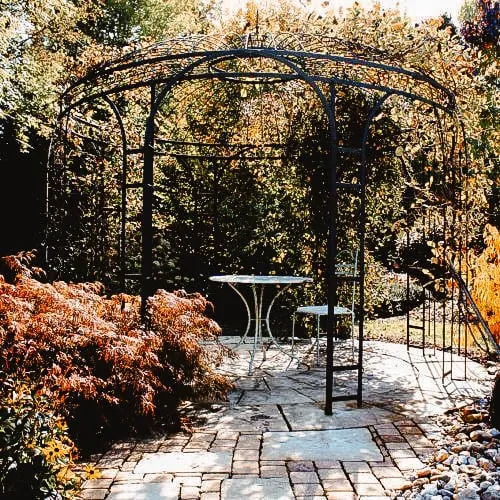
Wisely choose the lengths of your pergola, because once cut, the pieces of wood, iron, or PVC do not glue back together! You must decide the length of the three parts: the uprights, the rails, and the slats. Now is also the time to delimit where the installation will be located in your backyard. Stakes and a rope can help you visualize the project. Above all, remember that the uprights can only be separated by 150 cm or less to ensure sufficient stability.
Step 2: Foundations
Simplify your life with Postech Screw Piles for the foundation. These hot-dip galvanized thermal piles, screwed below frost level, offer unmatched stability and durability for over 75 years. Our certified installers provide quick installation with no damage to your property.
Learn more about our foundation solutions here.
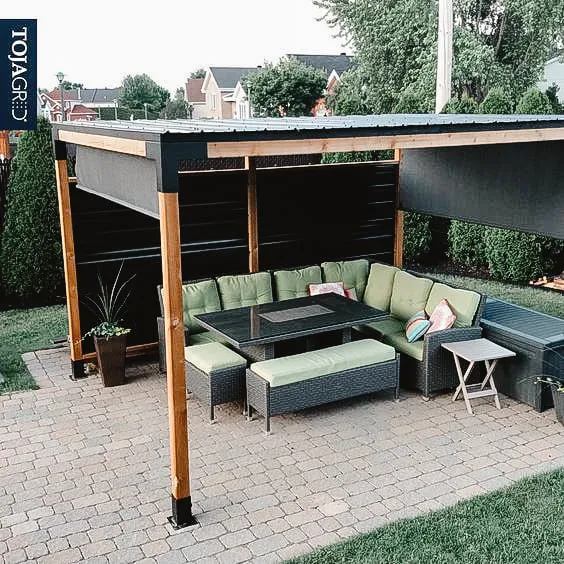
Step 3: Fix the Installation
Drill through the slats and secure them horizontally on the posts with lag bolts and washers. Place the traverses on the slats, securing them with wood screws, ensuring they extend 20 cm beyond the posts.
Step 4: Finishing and Maintenance
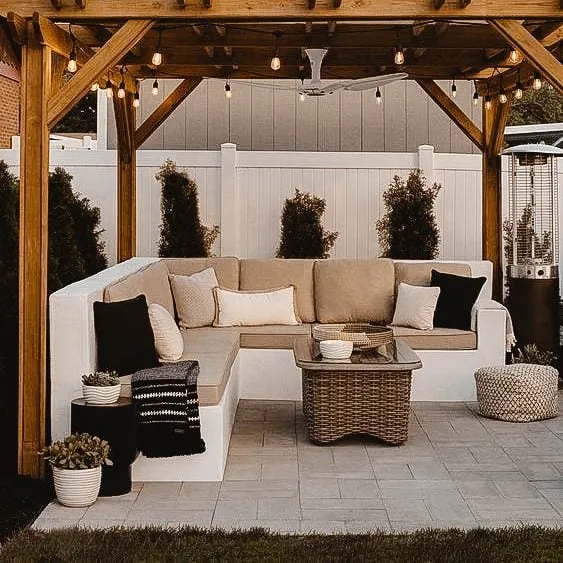
For wood pergolas, sand, paint, or stain the structure. Inspect annually for any signs of rot and treat with wood preservative if needed. Finally, decorate your pergola with drooping plants and fashionable cushions for a personalized touch.
Explore more project ideas on our blog.
Conclusion
Building a pergola with Postech Screw Piles is an efficient and durable choice. Enjoy a quick installation process and long-lasting foundations, making your outdoor space more beautiful and functional.

Postech Screw Piles is a Canadian company specializing in the manufacturing, distribution and installation of galvanized steel screw piles for residential and light commercial projects.
©2025 Pieux Vistech, Sherbrooke, Quebec, Canada.

